In Chirpy, the image files of Favicons are placed in assets/img/favicons/. You may need to replace them with your own. So let’s see how to customize these Favicons.
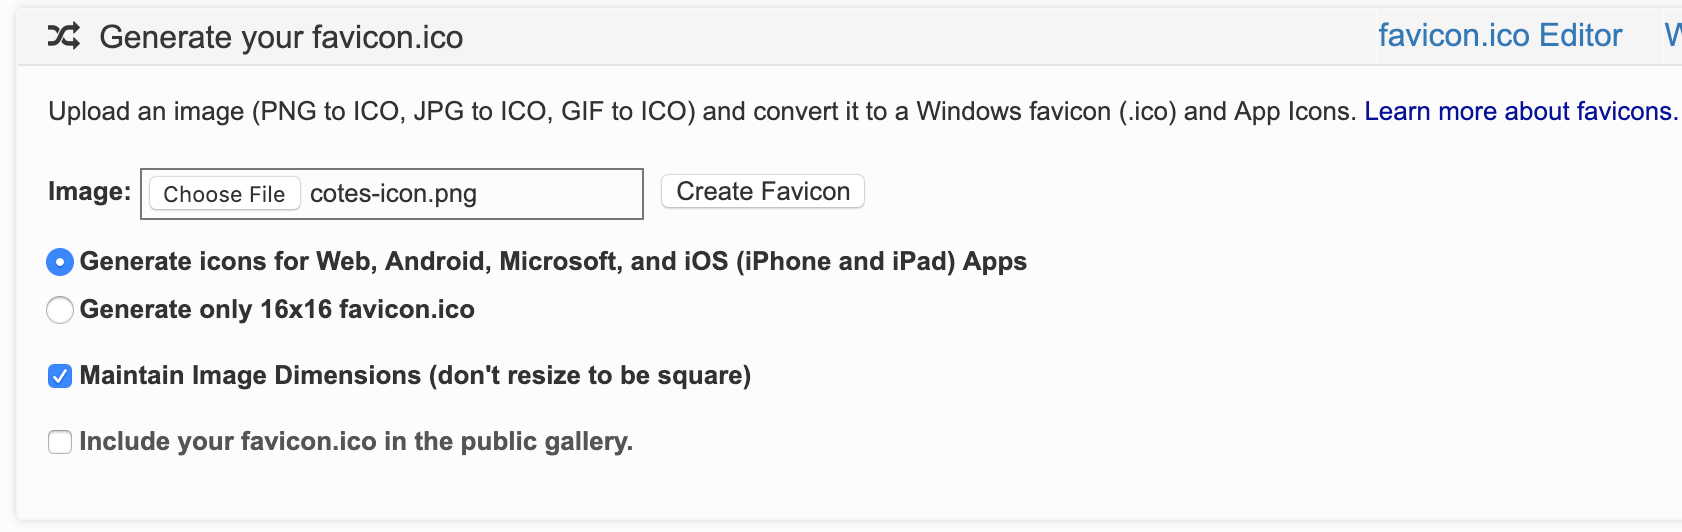
With a square image (PNG, JPG or GIF) in hand, open the site Favicon & App Icon Generator and upload your original image.
Click button Create Favicon and wait a moment for the website to generate the icons of various sizes automatically.
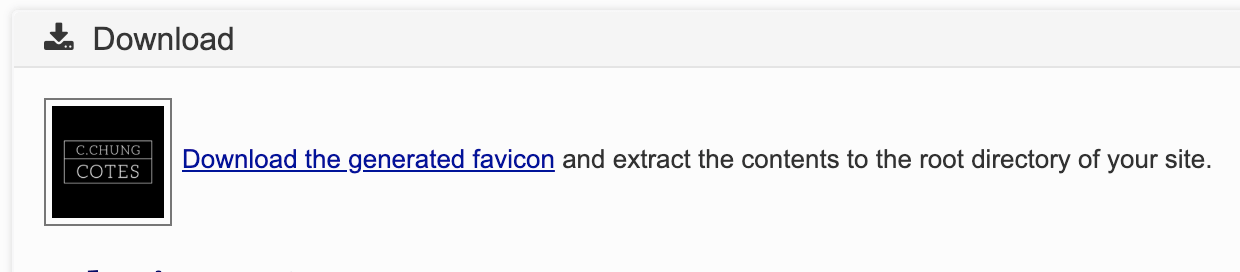
Download the generated package, unzip and delete the following two from the extracted files:
Now, copy the remaining image files (.PNG and .ICO) from the extracted .zip file to cover the original files in the folder assets/img/favicons/.
The following table helps you understand the changes to the icon file:
✓ means keep, ✗ means delete.
| File(s) | From Favicon & App Icon Generator | From Chirpy |
|---|---|---|
*.PNG |
✓ | ✗ |
*.ICO |
✓ | ✗ |
browserconfig.xml |
✗ | ✓ |
manifest.json |
✗ | ✓ |
The next time you build the site, the icon will be replaced with a customized edition.